
Appliance Review: Hamilton Beach Breakfast Sandwich Maker
16:21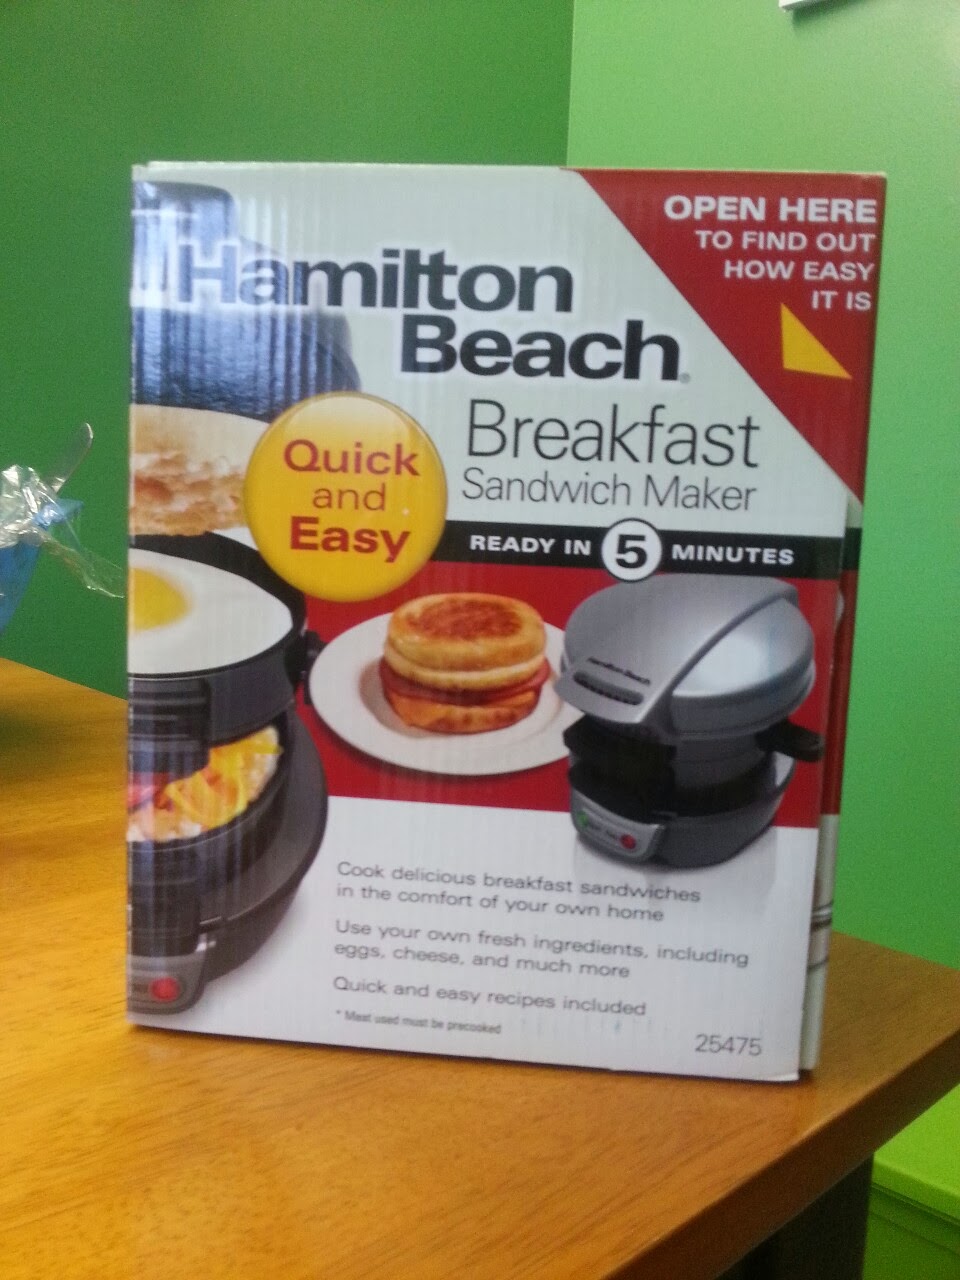
For Christmas, I (Jenn) bought Adam's parents and my parents a Hamilton Beach Breakfast Sandwich Maker. Since we both have one in our homes, we thought we'd do a little review on this small kitchen appliance as well as step-by-step directions on how to use it.
If you would like to purchase one for yourself, click the link [here] to be redirected to the amazon website.
DISCLAIMER: Not in anyway or form were we asked by Hamilton Beach to advertise this product. Instead, we just thought it was a lovely product, which we use regularly at home, and would like to share with our viewers.
Directions:
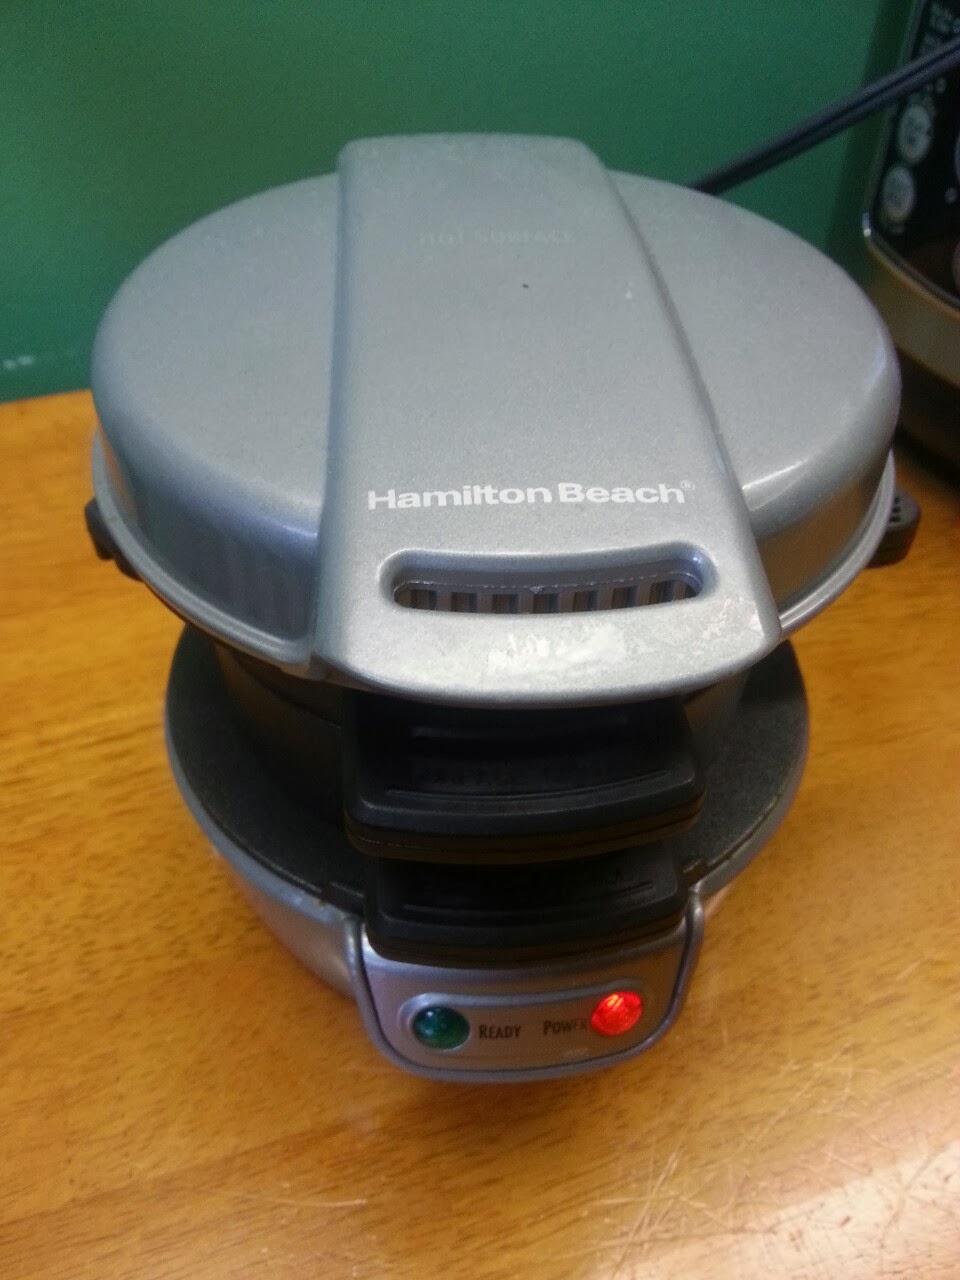
1) Before every use, make sure to use a damp paper-towel to clean each slate. When clean, plug the breakfast sandwich maker into a power outlet. This will turn on your appliance (This breakfast sandwich maker does not have an on/off switch).When you turn it on, a red light should turn on at the bottom of the appliance (shown below in the picture). The breakfast sandwich maker is ready to use when the green light turns on.
What you put in your breakfast sandwich maker is to your preference. You can use different kinds of breads (bagels, English muffins, Hamburger Buns, etc) and different fillings. Be creative with it! The ingredients I (Jenn) decided to use, today are shown below:
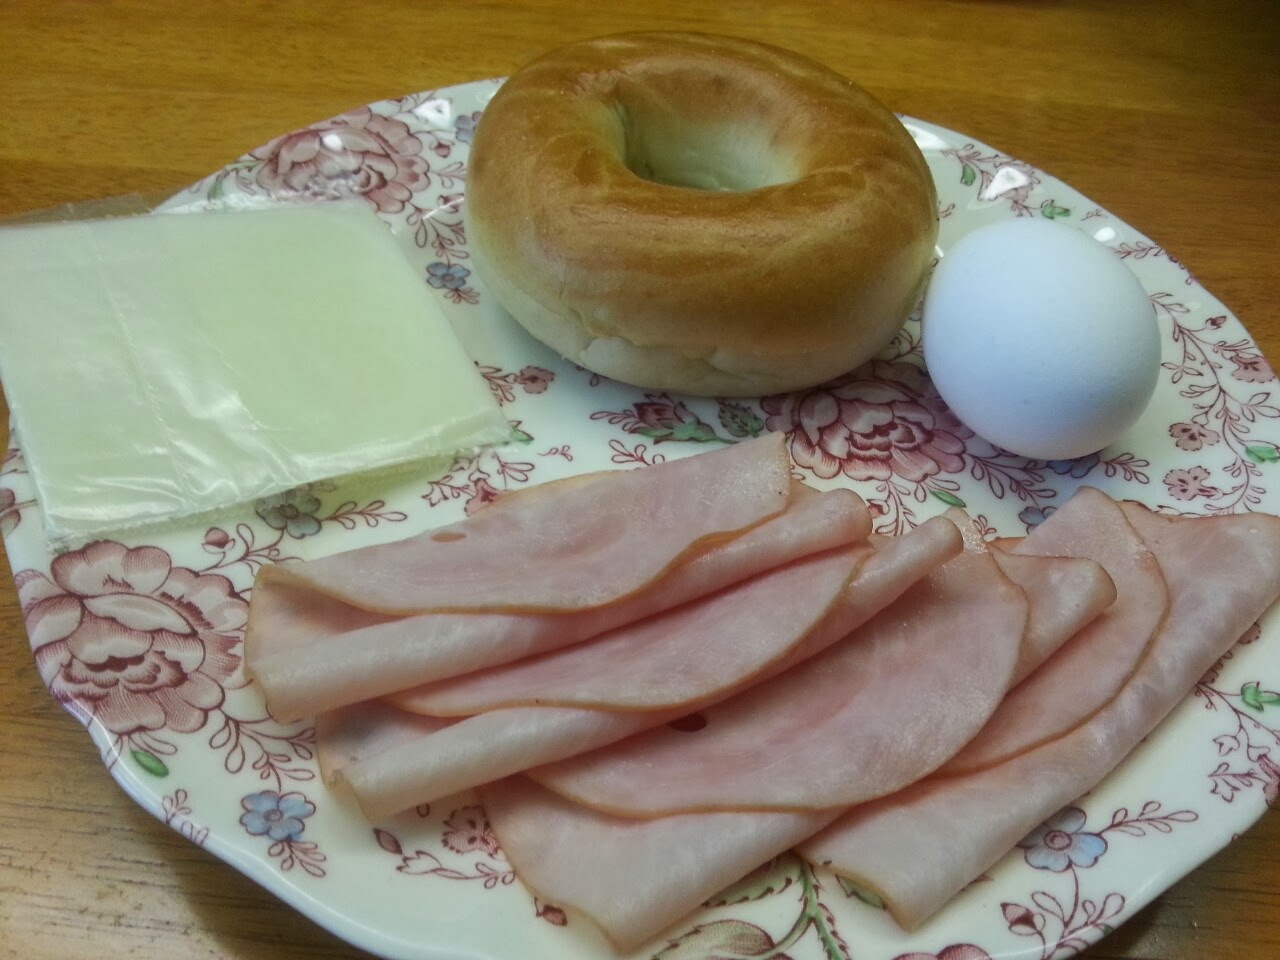 |
| Kraft Mozzarella Cheese, Smoked Ham, Plain Bagel and (1) Egg |
2) When the breakfast sandwich maker (BSM) is pre-heated, Lift the first layer slate, leaving the bottom layer slate down. Begin with placing your bread (or in my case, my bottom half of my bagel) inside the bottom layer slate. From here, begin to add all your ingredients, except for the egg.
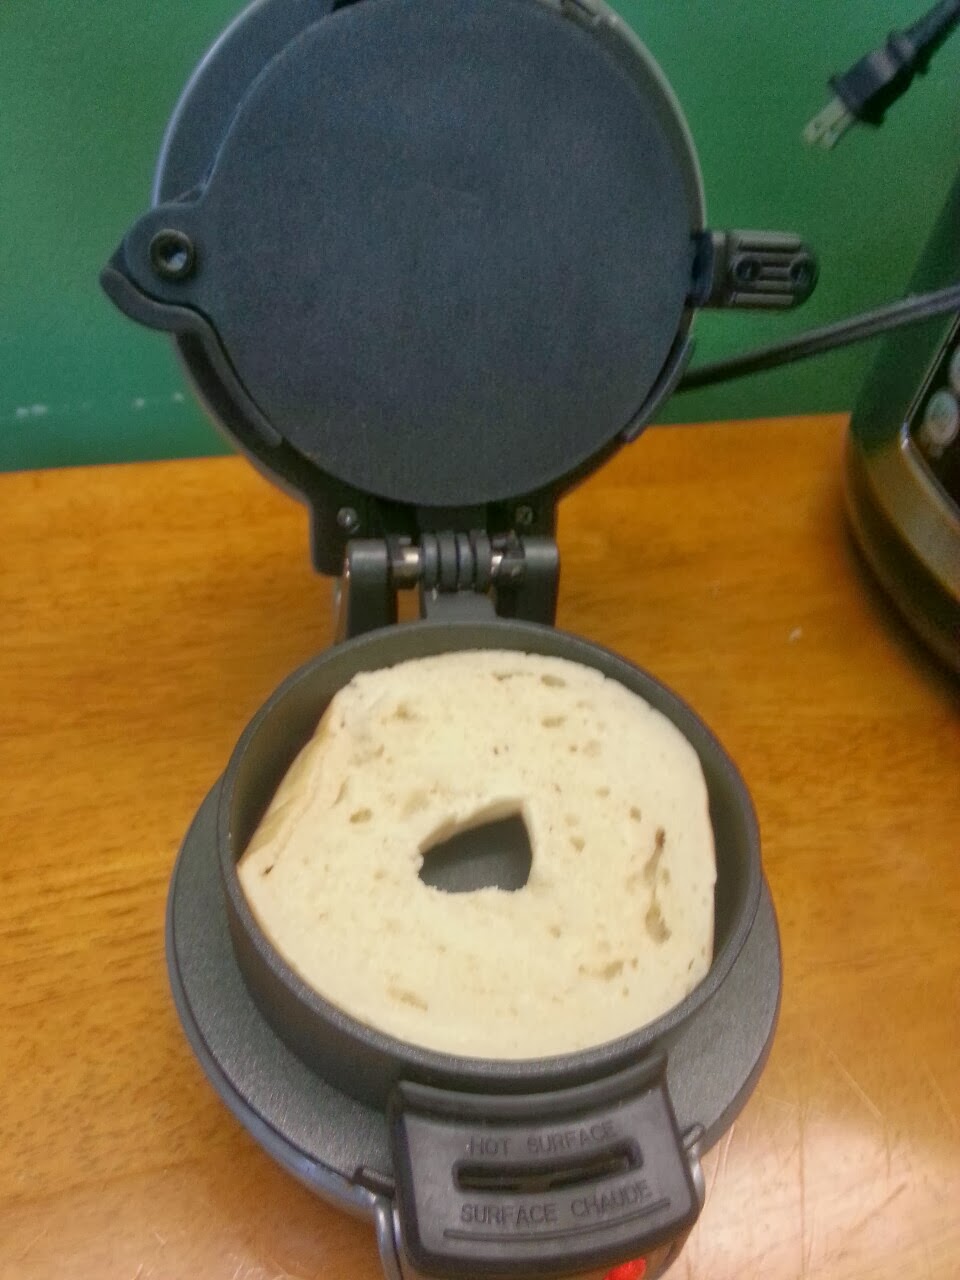 |
| Add the Bagel |
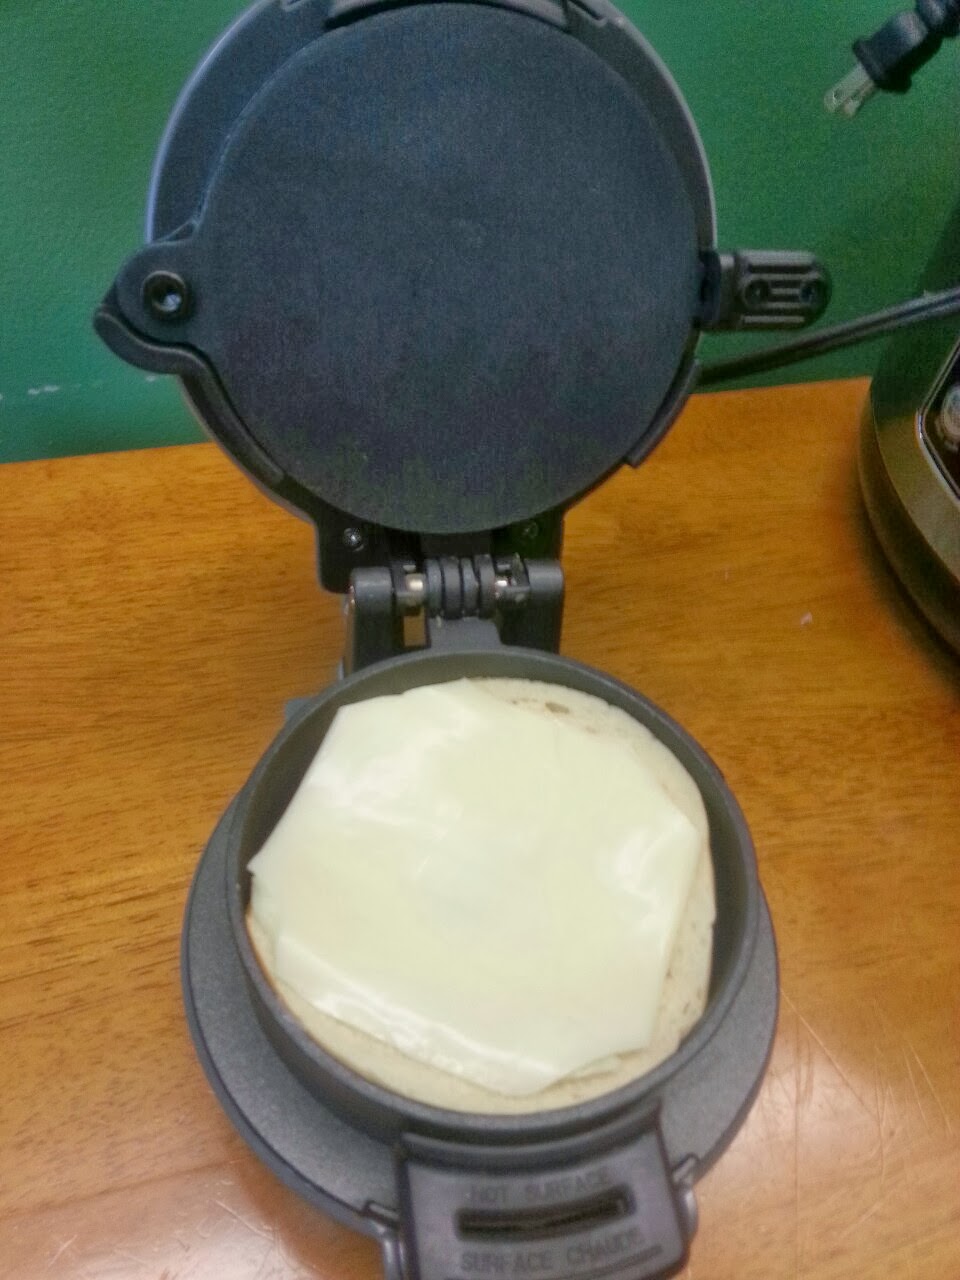 |
| Adding the Cheese |
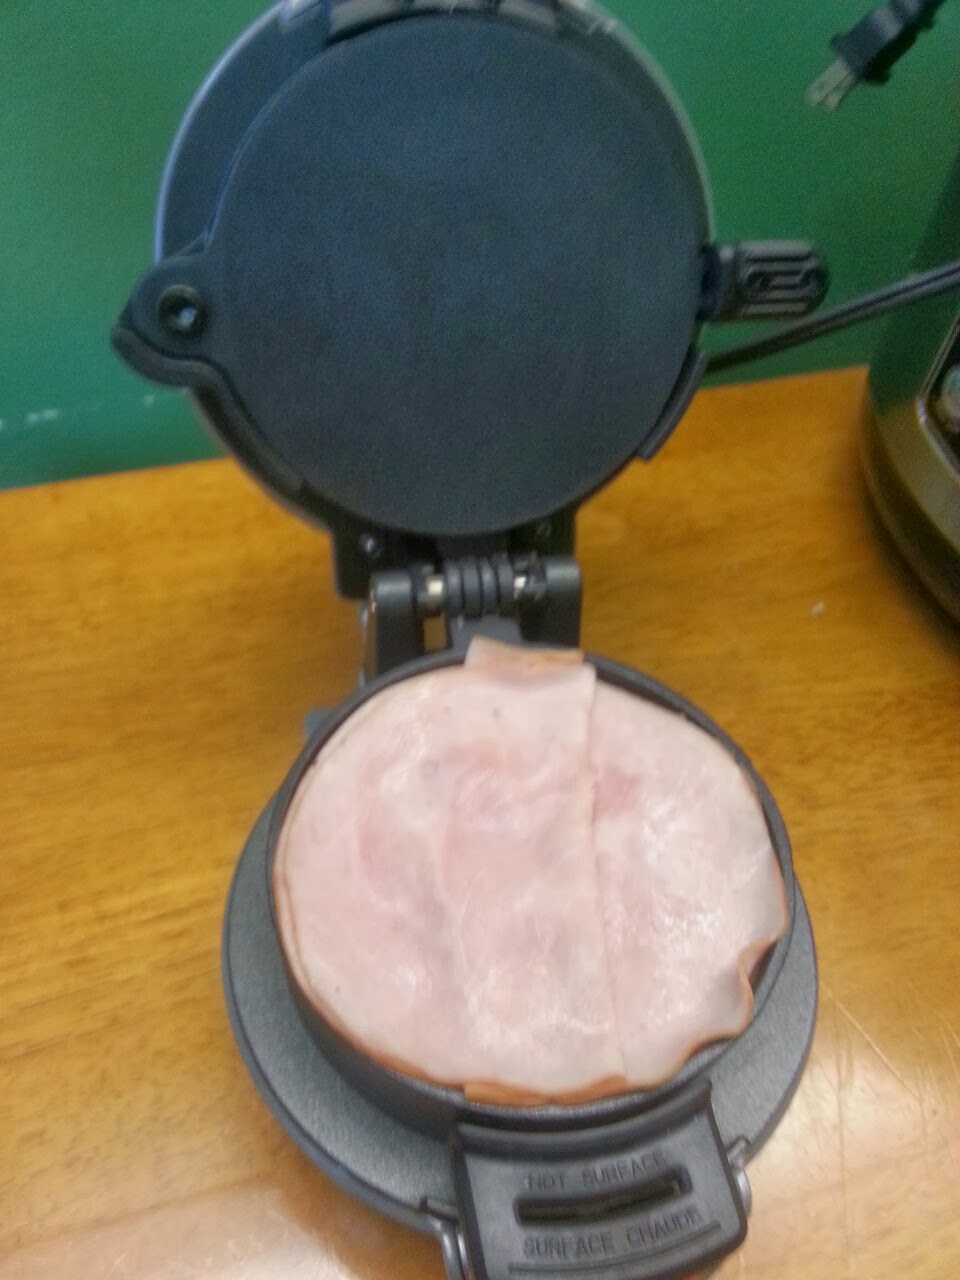 |
| Adding the Ham |
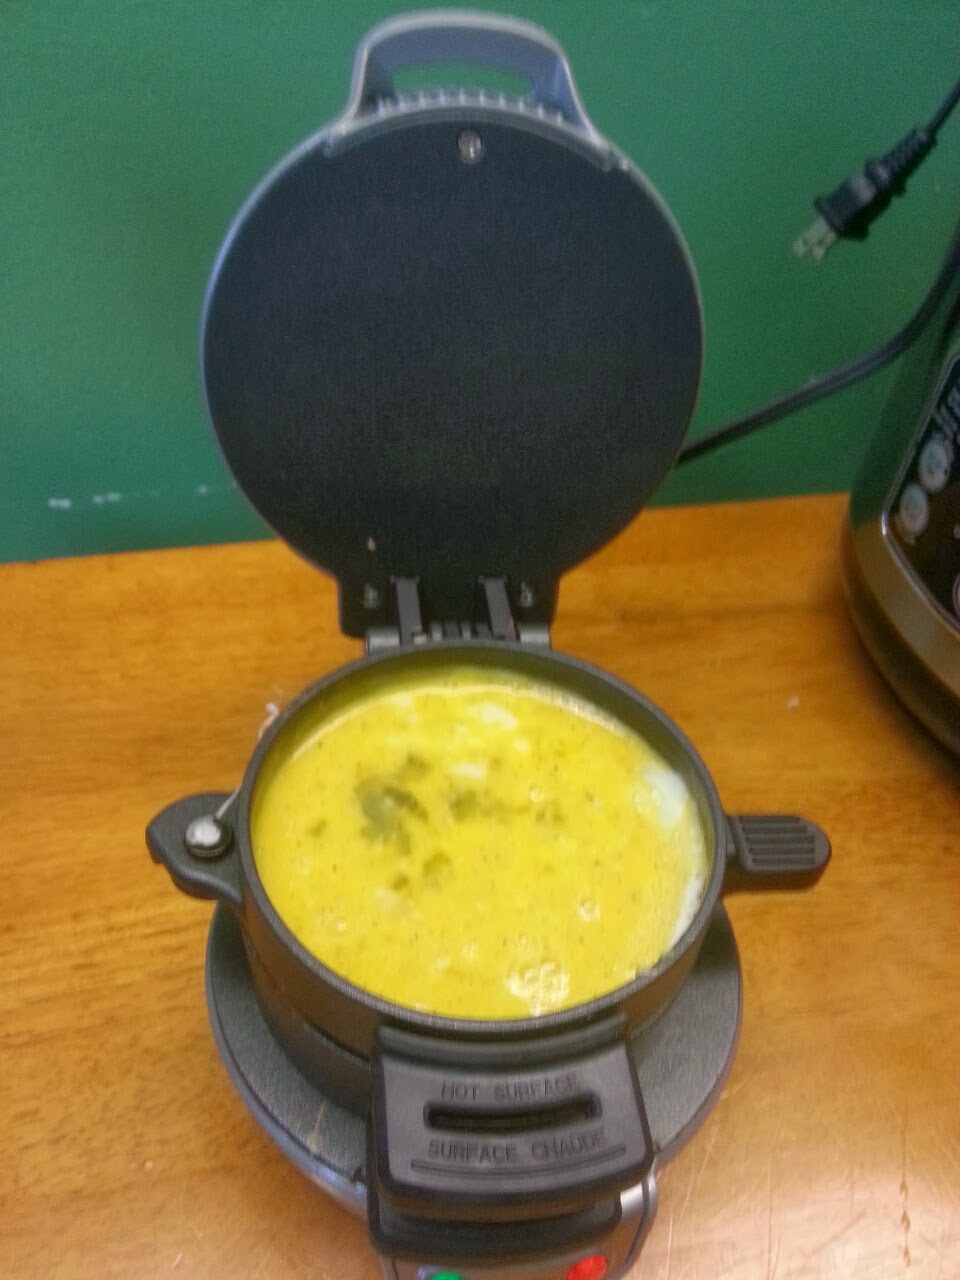 |
| Raw Scrambled Egg |
 |
| Raw Sunny Side Up Egg |
5) And there you have it, a breakfast sandwich!

Review:
Jenn's Review:
Rating: 4.5/5
Review: I am glad bought this! It is really easy to use, really quick in making your sandwich, and a lot of fun. You can be really creative with your sandwich, without a lot of mess to clean up, after. The only downfall, I find, is that it gets really hot, so when you are making your sandwich, sometimes you may have to wear gloves if your hands aren't resistant to heat. It is a pain to wait for the BSM to cool off before cleaning, as well. Other than that, it is really fun to use and really yummy to eat!
Adam's Review:
Rating: 5/5
Review: This breakfast sandwich maker is amazing. It makes it so easily and it is so good. It takes about 5 minutes to heat up the machine, then it takes another five to make the breakfast sandwich. This machine is fun to use and makes it easy for a rushed morning to get out of the house. It is very easy to clean as well.


0 comments